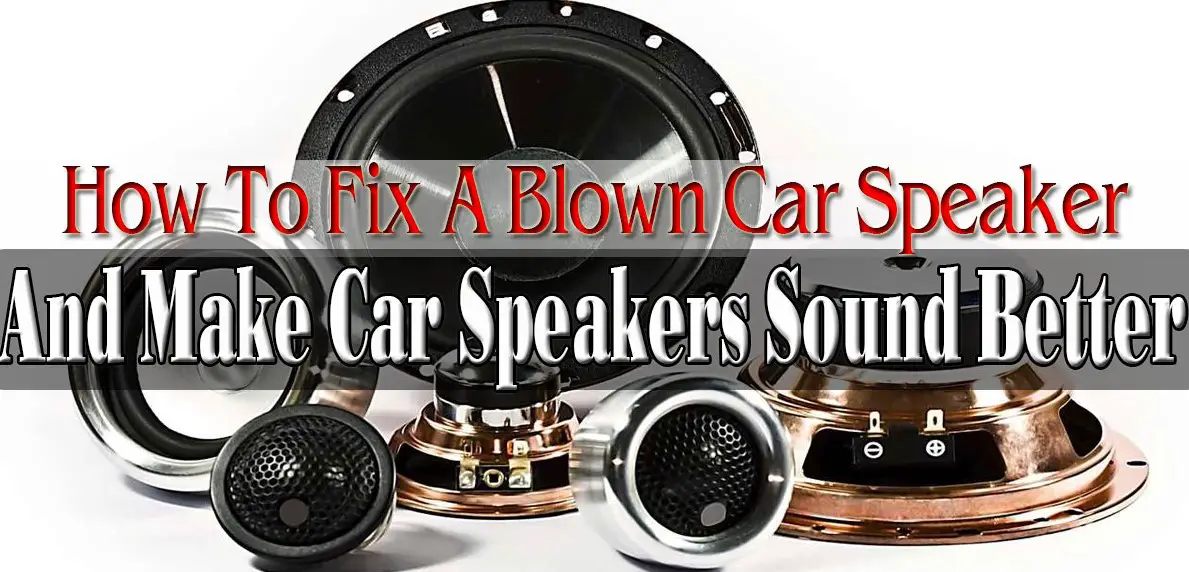
How to Fix a Blown Car Speaker?
In this article, I have explained in detail,?How to Fix a Blown Car Speaker? I received this question in the email a few weeks back and it is time to answer this question for good. I have seen many fellows who get struck when they face a blown car speaker.
A blown out car speaker is a very disastrous event for the true music lover. Blowing out of the speaker creates a huge mess, especially if you are a true audiophile then it is a trouble for you surely. This thing is very important that you take care of your speakers as they are at times very fragile unit.
How to Fix a Blown Car Speaker?
You should keep in mind that your speakers are your property and you should take care of these things. Your gadgets are your responsibility. Try that it may not get blown out easily. But what if it?s blown out then what should be your considerations. This is the real question. I mean that if your device is blown out then you must try to do something to save it. Sometimes you face failure in doing so and sometimes you can get successful.
Best ways to Fix a Blown Car Speaker
These are the ways by which you can fix it:
How to Fix Ripped cones of a Car Speaker:
There is sometimes a problem known as the ripped cone which occurs when your speakers are blown. You can cope with this condition by very easy steps and you don?t need to bother a lot about it.
You need a sewing needle and thread that will help you to fix the ripped cones. You will also need general purpose glue for this purpose. Also, something for spreading of glue is needed. Be careful with the device and thread color used for this purpose. You should also be conscious of the size of the needle used.
Here is the step by step fixing of cones:
Step 1: ?Thread and sew:
This is the easy method to sew the ripped cloth of the cone by stitching it with the help of a thread and needle and you should keep in mind that the ripped speakers should be set by the edges and it should be kept intact. The stitches should not loose and it carries the edges at it place and it should at its place and should not be broken apart.
Step2: ?Glue and let it dry:
You should put a layer of glue over it. It will give your speakers integrity and strength and help you to work out properly. You just need to put glue over the ripped area and let it dry. It gives strength to the speakers.
Step3: Installation:
As you have sewed and glued the device. The next step is the installation of the speakers. You should keep these things in mind that they are quite okay as no ripped portion is present there.
How to fix the whole Car Speaker?
Now if your whole speaker system is broken then these are some ways out:
Step 1: Remove the speakers:
The first step is the removal of the speakers from the car system.
It is easy as you need a screwdriver for the purpose to remove the screws and the opening of the enclosure you need to power it off and unplugging of all the wires is needed.
Step2: Demounting of the surround sound:
It is important that you should remove the surround sound system from the car stereo. There are different ways of removal. But I suggest using a knife to make a hole in the old form of the speaker and the cut it with the help of scissors.
Step3: Removal of the voice coil and the cones:
You can use a knife for the removal of the voice coil and cones from the speaker. This is a quite simpler process but you should keep it in mind that you should keep the terminals off and knife may not hurt you. You can also remove the glue remains easily by a knife.
Step 4: Clean the speakers:
You need to clean the inner part of the speaker by using a dry old cloth and also use a blower for the phenomena to clean it.
Step5: ?Replacement of the old voice coil:
The next step is the replacement of the old voice coil with the new one but this is little tricky way as you need to place the new coil at the place of old exactly at the same place.
Step6: Application of new cone:
The application of the new cone is very easy you just need to attach the new cone at the place with the help of glue and then you need to let the glue dried up.
Step7: Mount the surround:
Mount the new surround sound system to the speakers easily by the help of glue. And then let the system and assembly to get dry.
Step8: Installation of the speaker:
Install back the assembled speaker system in a similar way as the old one was installed and enjoy the new repaired speakers.
Step9: Testing of car speakers:
The next step is the testing of the speaker to test the music level of the speakers.
Last Word:
You should keep these things in mind that the fixing of a speaker is a very easy way to secure your old speakers. You can do it at home. Hope my article help you guys in this regard. You can any relevant question in this regard at any time.?
Thank you
Team- Stereoauthority.com?
Read here about:
- Best Surround Sound System 2019
- Best Bluetooth FM Transmitter 2019
- Best Bluetooth Car Stereo 2019
- Home Stereo System for 2019
- Best 6×9 Speakers
- Best Headrest Monitors
- Home Speakers Placement for Surround Sound
- Best Apple Carplay Stereo 2019
- Best Bluetooth Car Stereo 2019 Reviews
- How to Test Car Speakers?