How to Test a Car Amplifier with a Multimeter?
In this article, I have explained in detail the procedure for testing a car amplifier with a multimeter. The testing of the amplifier is a tough thing to do if you are not aware of the working of the amplifier.
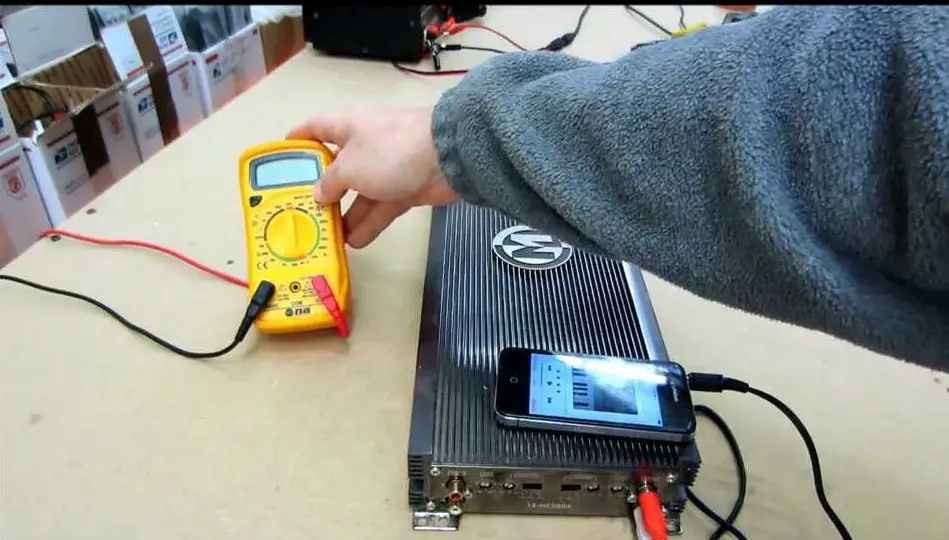
You should know that the operation of a multimeter is very simple and approximately every multimeter works on the same principle and you can easily use it. Every millimeter has a different feature, but every multimeter can be used to check the amplifier. It is quite easy if you know the technique.
Step-by-step Guide to Test a Car Amplifier with a Multimeter?
I will like to explain the testing procedure of the multimeter step by step.
Step 1: Setting up?
In the old days, the car speakers were quite simple and quite easy to test. These speakers were easy to handle and present on the dashboard. The checking of these speakers was the game of a few seconds. Now car with more than eight speakers makes it a tough job to do. But you can save a lot of money by doing these at home and obviously this little effort is fruitful.
Click here to Buy Multimeter from Amazon.
Step 2: Configuration of a Multimeter
At this step, you have to configure the multimeter. The configuration of the multimeter is not a tough task to perform. ?There are two types of probes. One probe is black and other probe is red. The black probe goes into the common part of the millimeter and it is label as the COM port in some multimeters. ?The red one goes to the amperage part of the multimeter.
There are two types of ports one has high amperage and other has lower amperage so if you do not know the exact ampere then I think you should go for the lower amperage.
Then you should rotate the dial of the multimeter and set it according to your desire ampere and milliampere.
Step3: Locate the Amplifier
First of all, locate the amplifier where it is placed. The amplifier can be anywhere in the boots on the dashboard or behind the seat of the car. The exact position of the car should be explained in the manual. You can easily locate the amplifier. The manual will also tell which wiring diagram of the amplifier and it will tell which wire should be tested. It will also tell the characteristics of each wire which is necessary.
The plug of the amplifier which is to be connected has the power written as 12 volts Plus power. Its plug is always hot or hot at the time of ignition. You can check it while staring the car. It is the way through which we can check the amplifier by using the multimeter.
Tips and suggestion for Using a Multimeter to test Car Amplifiers
- It is highly recommended that you should turn off the power before the meter is connected it protects the multimeter from burning out.
- You should also check the fuse of the battery too. You also need to check the voltage of the battery as it will not get destroyed.
- Clear all the variables you should be able to see the connections clearly.
- You should increase and decrease the volume to check the voltage properly. If you face any problem regarding this then there will be a decrease in the volume.
- Run the complete check until the amplifier turns off and check the output completely.
- You should also test the resistance of the multimeter and set the resistance properly to check it
- You should check that the grounding of the amplifier wires should be done properly.
Last Word for?How to Test a Car Amplifier with a Multimeter?
I would like to conclude the article as it is an important task to perform but you can only perform it if know the task and have the full knowledge of these things. Because your minor error can be the cause of device failure. Try to consult the manual of your amplifier as much as possible so that you may not make any mistake. You should try to take care of your device as much as possible.
Thank you
Team- Stereoauthority.com?
Read here about:
- Best Surround Sound System 2019
- Best Bluetooth FM Transmitter 2019
- Best Bluetooth Car Stereo 2019
- Home Stereo System for 2019
- Best 6×9 Speakers
- Best Headrest Monitors
- Home Speakers Placement for Surround Sound
- How to Play Music Through USB in Car?
- How to Fix a Blown Car Speaker?
- How to Test Car Speakers?